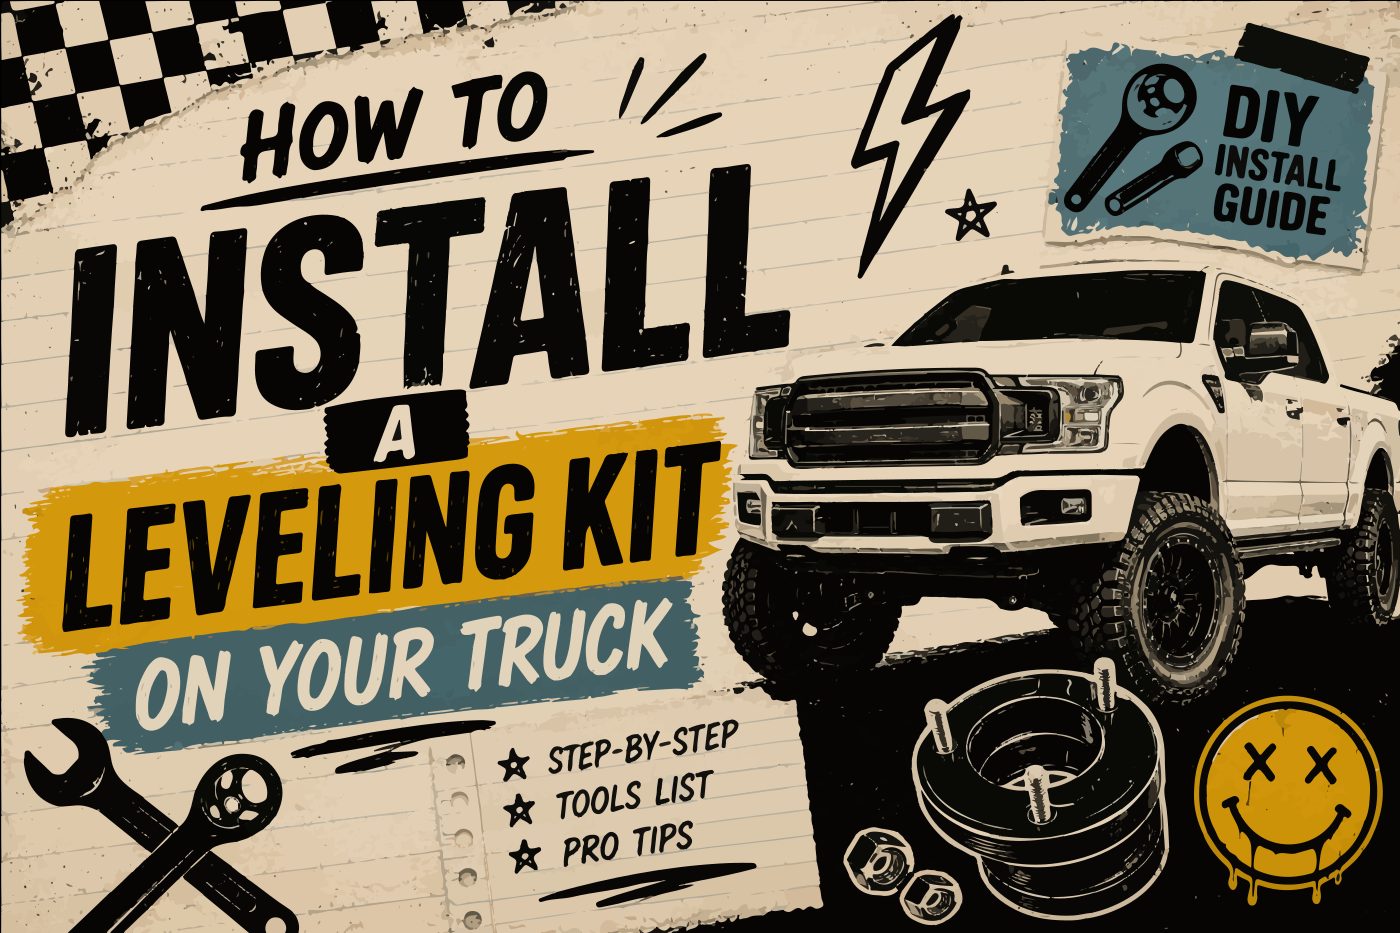
How to Install a Leveling Kit on Your Truck: A No-BS Guide for First-Timers
You've been staring at that raked nose on your truck for long enough. You know what you want. You've watched the YouTube videos. You're just waiting on the nerve to pull the trigger and do it yourself.
Good news: installing a leveling kit is one of the most accessible upgrades you can do at home. It doesn't require a lift, a full tool chest, or a mechanical engineering degree. What it requires is a free afternoon, the right parts, and the willingness to follow steps in order.
This guide covers the full process, from what a leveling kit actually does, to the tools you'll need, to a step-by-step walkthrough for a standard front strut spacer install. Let's get into it.
What a Leveling Kit Actually Does
Most trucks come from the factory with a front-to-rear rake, meaning the nose sits 1 to 2 inches lower than the rear. This is by design. It compensates for tongue weight from trailers and keeps the ride geometry predictable under load.
A leveling kit brings the front up to match (or nearly match) the rear, giving you a more aggressive stance, clearance for bigger tires, and a look that doesn't scream "stock from the lot."
What it doesn't do: a leveling kit won't give you the wheel travel of a full suspension lift. If you're wheeling hard trails, a leveling kit is a starting point, not an endpoint. But for a daily driver that needs more clearance and better stance? It's the sweet spot.
Tools You'll Need
This is a standard front strut spacer install. Here's what to have ready before you start:
- Floor jack + 2 jack stands (minimum. 4 is better)
- Torque wrench
- Socket set (metric and SAE)
- Breaker bar
- Spring compressor (if your kit requires strut removal)
- Penetrating oil (PB Blaster or equivalent)
- Pry bar
- Impact driver (optional but saves your forearms)
One thing people always forget: penetrating oil. Spray your strut bolts and let them soak for at least 30 minutes before you touch them. If your truck has seen any winters or coastal air, double that soak time. Seized bolts are how a 3-hour job becomes a 6-hour job.
Step-by-Step: Front Strut Spacer Install
Note: these steps cover a bolt-on strut spacer install. Some kits require removing the entire strut assembly. If yours does, refer to your kit's specific instructions, the process is similar but adds strut removal and spring compression steps.
- Break the lug nuts loose: Before the truck is in the air, crack all lug nuts on your front wheels with a breaker bar. Breaking them while the wheels are on the ground is safer and less likely to spin the hub.
- Jack up the truck and secure it: Jack from the factory lift points only, never the control arms. Get jack stands under the frame. Do both sides before you start working on either side.
- Remove the front wheels: Pull the wheels and set them aside. You'll need the clearance.
- Locate your strut tower: Open the hood. Your strut tower bolts are at the top of the shock tower, usually 3 bolts in a triangular pattern. This is where your spacer will go.
- Soak and remove the strut tower bolts: Apply penetrating oil if you haven't already. Remove the three strut tower nuts and keep track of them, you'll reuse them.
- Position the spacer: Set your leveling spacer on top of the strut mount. Line up the bolt holes. The spacer goes between the strut mount and the chassis.
- Reinstall and torque to spec: Thread in your bolts finger-tight, then torque to the manufacturer's spec. Do not eyeball this. Over-torquing strut tower hardware causes cracking over time. Under-torquing means your spacer shifts under load. Torque spec is in your kit documentation.
- Reinstall wheels and lower the truck: Torque your lug nuts in a star pattern. Lower the truck off the stands.
- Bounce the suspension and re-check torque: Push down on each corner a few times to seat everything. Re-check your torque. Do a 5-minute neighborhood loop before you do anything else.
- Get an alignment: This is non-negotiable. A leveling kit changes your front suspension geometry. Drive it without an alignment and you'll eat through tires in a few months. Schedule the alignment the same week as the install.
Common Mistakes (And How to Not Make Them)
- Skipping the alignment. Already covered. Don't do it.
- Reusing stretched OEM hardware. If your bolts look stretched or the threads are questionable, replace them. Strut hardware is cheap. Strut towers are not.
- Using a bottle jack as a stand. A bottle jack is for lifting, not supporting. Jack stands only.
- Ignoring a clunk after the install. Some settling noise on day one is normal. Persistent clunking is not. Check your torque before you drive it further.
Ready to level up? Find leveling kits verified for your exact year, trim, and drivetrain at Liftnasium. Specs confirmed before you checkout, no guesswork, no surprises.